
Creating a Dialog Graph
Create a small graph, author its lines and responses, save it, and inspect its setup before connecting it to a scene.
Start with a named graph asset
- Open Tools > Beka Forge > Dialogue Graph System > Open Editor. The workspace opens on Home, which contains the create-and-open controls.
- In the Home view's Name field, enter a unique descriptive name such as
VillageGreetingand select Create & Open. - The new asset is normally placed under
Assets/DialogGraphSystem/Graphs. Keep it in your project's asset structure so Unity can track its reference and metadata.
Try the Home example: enter a graph name in the Graph name field and choose Create & Open to see the sample confirmation flow. No Unity asset is created.
Try the Dialog example: edit Speaker and Dialog, then expand Details and change Node Title. The card reflects those browser-only edits.
Understand the boundary nodes
The graph editor supplies an editor-created Start and End boundary. Start is the entry point; End marks a completed route. Do not create replacement boundary nodes manually. Build the conversation between them and connect all intended outcomes to End or onward to another node.
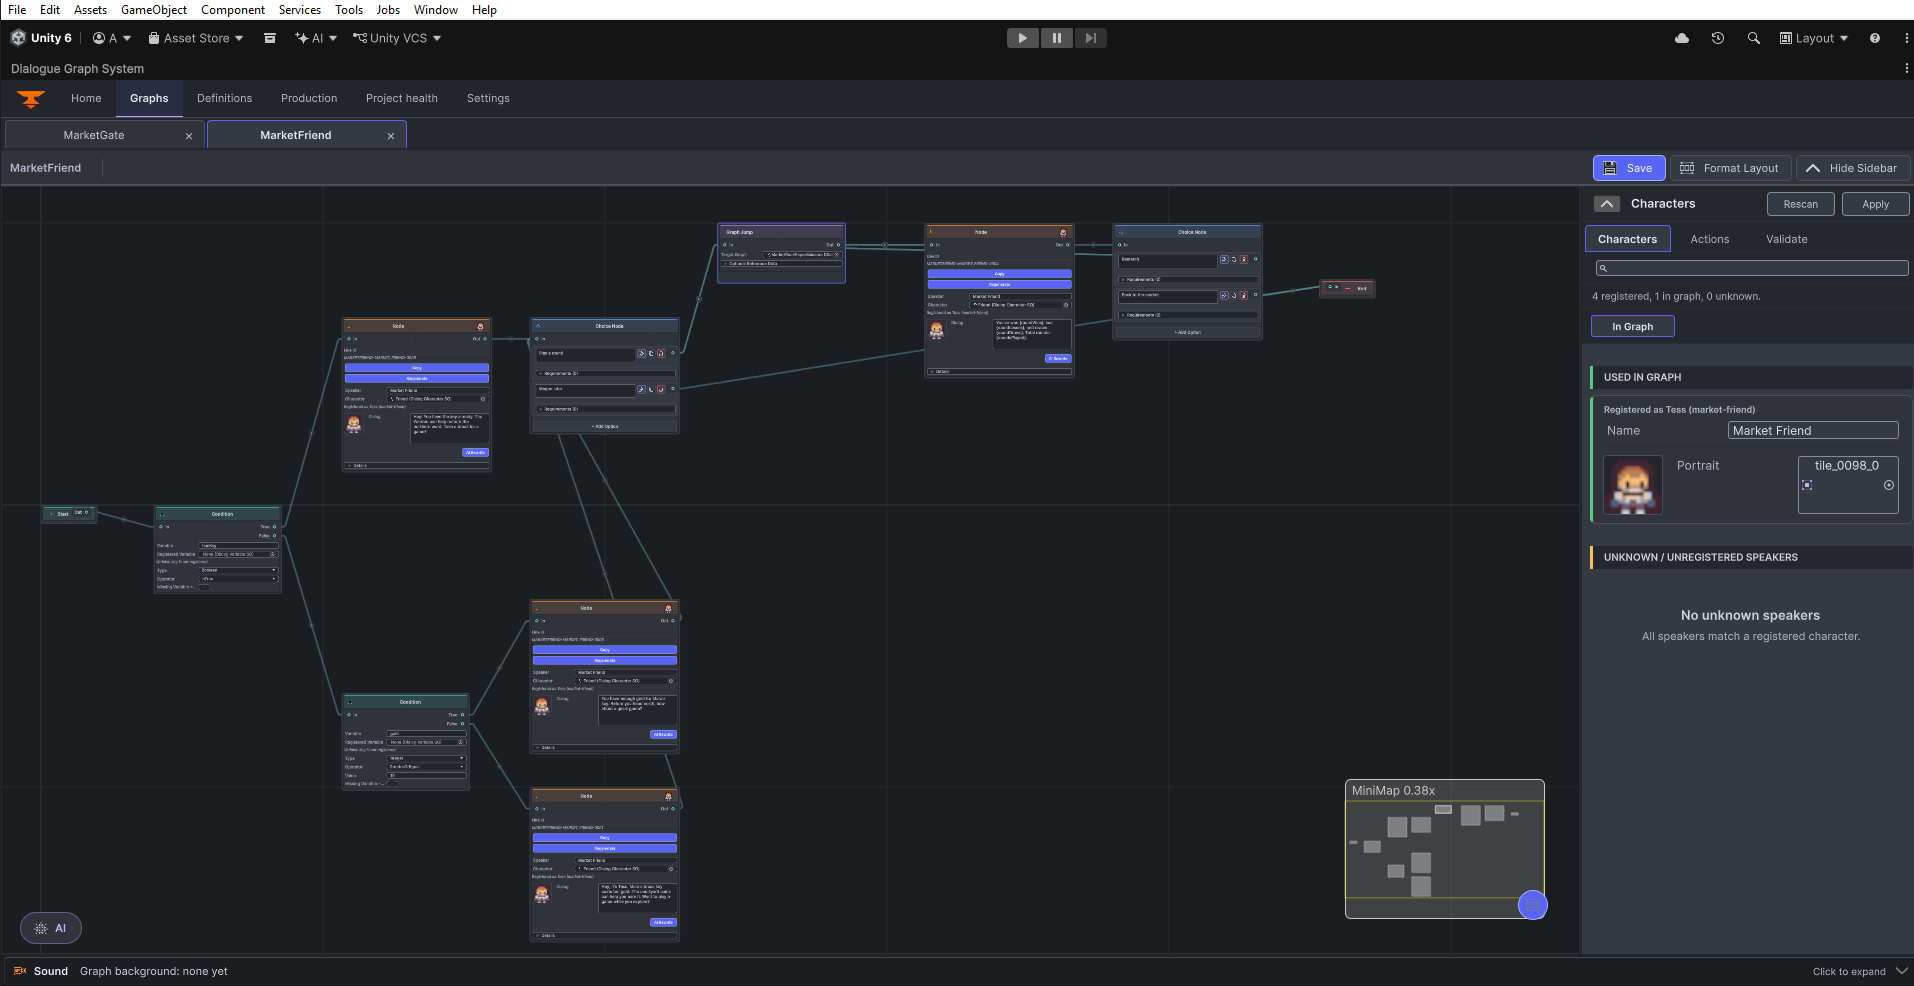
Add a line and a choice
- Right-click the canvas and choose Create > Dialog Node.
- Select the node. Fill in Node Title, Speaker, and Dialog. The title helps identify the node while editing; the speaker and line are the authored conversation content.
- Create a Choice Node from Create > Choice Node in the same context menu and connect the Dialog node's output to its input.
- A new Choice starts with one answer row. Edit that row for the first response, then select + Add Option once for each additional response. The preceding Dialog line asks the question; the active Choice card has no prompt field, and its answer IDs are managed by the editor.
- Create a Dialog node for each response if each answer should receive a different reply. Connect each answer's output port to its own response node.
- Connect Start to your first line and connect every branch to the next intended node. When a route finishes, connect it to End.
To change a connection, drag from an output port to the intended input port. Follow the port direction shown by the graph editor; an unconnected response is a route the player cannot continue through.
Try the Choice example: edit an option's answer text, expand its Requirements foldout, then choose + Add Option. The browser example shows the editable rows and a new answer; it does not simulate graph connections.
Save and review the graph
- Choose Save in the graph editor toolbar.
- If the graph sidebar is hidden, select Show Sidebar. In its right-hand panel, choose Validate, then click Validate Graph.
- Review the validation results, fix relevant issues, and run Validate Graph again. Save graph edits as needed.
Expected result: the graph asset is saved and the graph sidebar shows its validation results. Verify scene presentation separately in Unity Play Mode.
The graph toolbar provides Save, Format Layout, and Show/Hide Sidebar. Open the sidebar’s Validate tab and choose Validate Graph to review graph errors, warnings, and information messages.
Give the graph a playback ID
Graph asset identity and a runtime dialogID are different things. The graph asset is the authored graph. A dialogID is the string key your scene's DialogManager uses to select that graph.
- Put the
DialogueManager.prefabfromAssets/DialogGraphSystem/Resources/Prefabs/into the scene. - Add a row to the manager's Dialog Graphs list, assign your graph asset, and enter a unique ID such as
village_greeting. - Launch it with
DialogPlayer.StartDialog("village_greeting")orDialogManager.Instance.PlayDialogByID("village_greeting").
Keep IDs stable once scene buttons, saved data, or other code refer to them. A blank or duplicate ID can make registry resolution ambiguous; review the row in the manager Inspector.
Common authoring mistakes
- A response has no destination: connect its output to a reply or End.
- The graph begins in the middle: connect Start to the first Dialog node.
- Two unrelated options share one response unintentionally: split them into separate Dialog nodes if their follow-up text should differ.
- A route looks connected but the scene does not advance: verify the selected output reaches the intended input, then test the configured Unity scene separately.